simple steps to install window alarms for beginner security
In the world of home security, window alarms serve as an essential line of defence against intrusions. Whether you live in a flat or a house, taking steps to secure your windows is crucial. This guide outlines simple steps to install window alarms, designed specifically for beginners who want to improve their security measures without unnecessary complications.
Choosing the Right Window Alarm
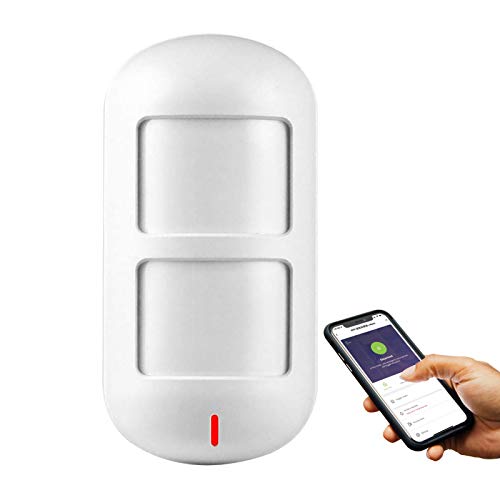
The first step in securing your windows with alarms is selecting the right type. There are various types available, such as battery operated alarms, wired alarms, and smart alarms that connect to your home Wi-Fi. Battery operated alarms are easy to install as they do not require additional wiring. Wired alarms, while more complex, provide reliable security. Smart alarms allow remote monitoring through mobile applications, offering added convenience.
Gather Necessary Tools and Materials
Before you begin the installation process, gather the necessary tools and materials. You will typically need a drill, screwdriver, a level, measuring tape, and the window alarm kit itself. Ensure you read the instructions provided by the manufacturer, as they may have specific requirements or recommendations for installation.
People Also Look For:
Preparing the Installation Area
Next, clean the window frame thoroughly. Dirt or dust can prevent proper adhesion of the alarm components. If the alarm is adhesive, ensure the surface is smooth and dry. For wired systems, you may need to drill small holes for the wiring, so check that there are no obstructions inside the wall before you start drilling.
Measuring and Marking
Using a measuring tape, determine the correct placement for the alarm sensor. Most alarms have a specific height and distance recommendations for optimal performance. Once you have the measurements, use a pencil to mark the locations where you will install the sensors and the base unit. This step is crucial as it ensures accurate placement and alignment.
Installing the Alarm Sensors
If you are using adhesive window alarms, simply peel off the backing and press the sensor firmly onto the marked position. Hold it in place for a few seconds to ensure it adheres well. If you are installing a wired alarm, carefully drill pilot holes for screws and secure the sensor in place using the provided screws. Make sure the sensor is aligned with the magnet component that will be placed on the window frame.
Testing the Alarm System
Once the alarm sensors are in place, it is time to test the system. Activate the alarm according to the manufacturer's instructions and open the window to ensure the alarm triggers. This is a critical step to confirm everything is functioning as intended. If the alarm does not activate, double-check the installation and ensure all components are installed correctly.
Final Touches and Maintenance
After ensuring everything works, clean up the installation area and remove any debris. Regular maintenance is vital for your window alarms. Periodically check the batteries if your system is battery operated and make sure the sensors are clean and free of obstructions. For smart alarms, regularly update the firmware to maintain security and performance.
Consider Professional Help
If you feel uncomfortable with the installation process or if your home has unique requirements, consider hiring a professional. They can provide expert advice and ensure your window alarms are installed correctly and efficiently. Professional installation may also save you time and provide peace of mind.